This tutorial was submitted to us by our close (and super-awesome) friend Emily. You can find her at her blog.
We've settled into summer quite nicely, and though the doldrums haven't quite set in, they're nearing with glazed-over eyes that are crying "I'm bored." This is unacceptable. And while I have all kinds of "fun" things the kids can do to not be bored, I thought I'd be a little more creative this time and save the chores for next week. This week, it's button elastic headbands. Related to the button elastic bracelets, these little beauties are quick and easy to make but do require a bit of handiwork in that a few stitches will need to be made. Again, if I can do it, so can you. Enough said on that point.
How to Make an Elastic Button Bracelet
What You Will Need:
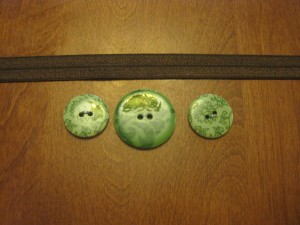
- a piece of *colored elastic, enough to somewhat tautly wrap around your head
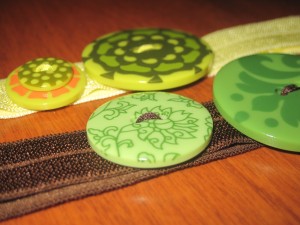
- 2-4 big buttons {got ours on sale at Jo-Annes}
- sewing kit: scissors and thread to match either the buttons or the elastic {I found our kit in the $1 bin at Target}
I had enough supplies for daughter and me to each make one.
*I used fold-over elastic because it's what I had. I found that the line down the center help me center my sewing, but that's just me. You can use whatever you want!
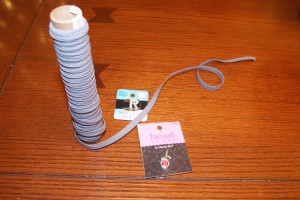
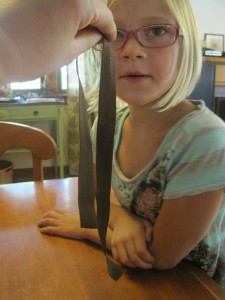
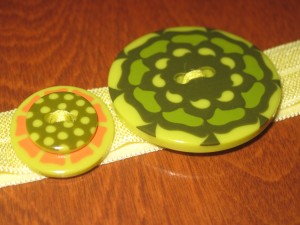
Step 1: Cut your elastic and lay out your buttons.
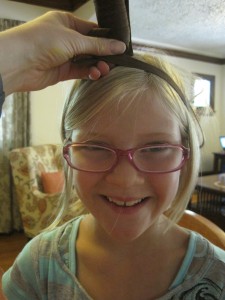
Wrap a piece of elastic around your head to see how long it needs to be. It should be taut, but not stretched to capacity, so it has some give and will function as a comfortable headband.
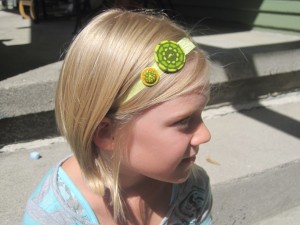
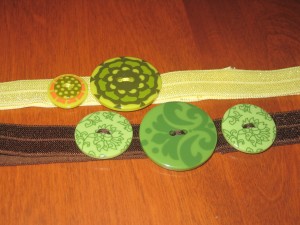
Then, arrange your buttons the way you want them, alternating size or color, or just however you want them.
You will probably want them to the side, not centrally located so that when you wear the headband, the buttons rest to the side on your actual head.
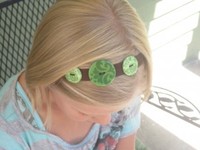
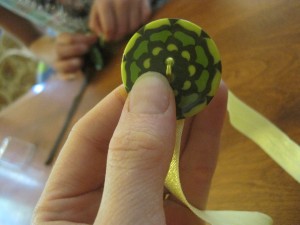
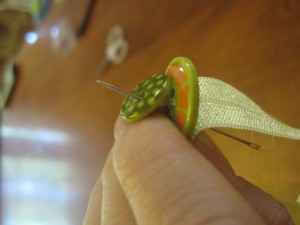
Step 2: Sew the buttons.
I found it was easiest sew the buttons first while the elastic was still long and not sewed together yet. I also figured I'd start everything off for my seven year old so that the buttons were placed and held tightly before letting her jump in. We both sewed on 3 buttons, though i did a double button.
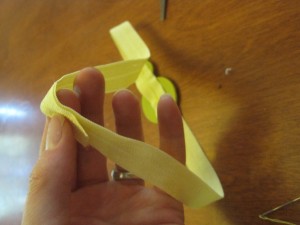
Step 3: Sew the elastic.
Now it's time to sew the elastic together. Keep in mind, this seam will be under your hair and if the thread matches your elastic, no one will ever notice. So, no worries about perfection, just get it sewn tight. I did 2 rows of stitches and I also made sure there wasn't much overlap so that I wouldn't have to sew two different seams. Basically, just snip off excess and sew once.
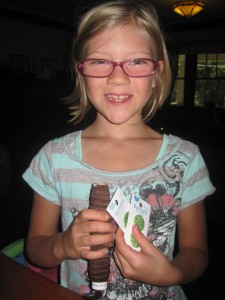
My daughter loves anything we make together and certainly anything she can wear and show off. I am sure yours feel the same way! What's better than enjoying the cool AC during the baby's nap than to get some much-needed quality time with your older one? Not much, I say. Hope you enjoy your button elastic headband as much as we are enjoying ours!