This tutorial was submitted to us by our close friend Emily. You can find her at her blog.
How to make a Covered Button Headband
I have always been a huge fan of covered buttons. I had approximately a million down the back of my wedding dress, and I still adore them. When I saw a fabric-covered button headband, I knew I had to learn how. Shockingly, it is so, so easy. Every craft store sells button covering kits for a few bucks, dependent upon size and number. So, choose your fabric, grab a kit, and let's get crafting!

What You Will Need:
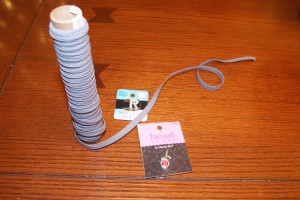
- a piece of elastic of your choice, enough to go around your head tautly
- a small piece of fabric {I got mine out of the clearance remnants at Jo-Anne- you may remember it from my ruffle necklace}
- needle and thread OR hot glue gun, scissors
*Confession- I started with a glue gun and changed my mind due to the shape of m buttons.
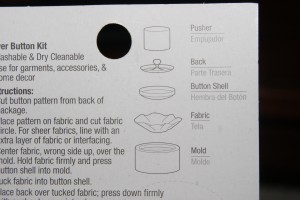
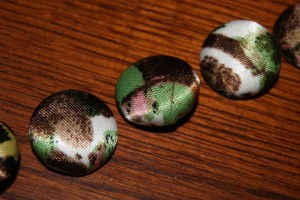
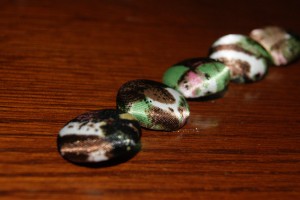
Step 1: Cover your buttons.
hint: 3 or 5 is a good number of buttons to do.
The kit will explain exactly how to cover the buttons- it is super-easy and fast!
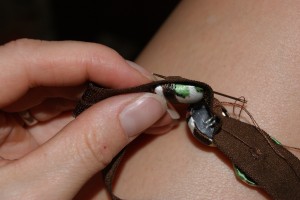
Step 2: Glue or sew the buttons onto the elastic.
It's easiest to do adhere your buttons before sewing your elastic into a loop for the headband. I was going to glue the buttons on, but they came with loops on the back that were easy to sew. So, I decided to sew instead.
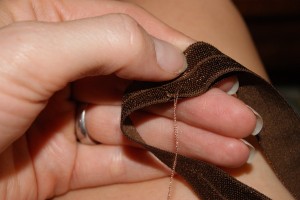
Step 3: Make the headband.
Now sew or glue the elastic together to make the headband.
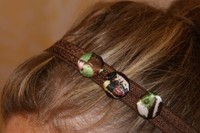
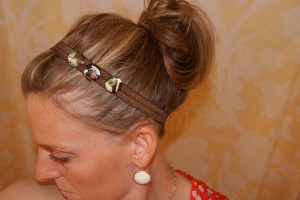
Wasn't that easy?? And look at the result!