
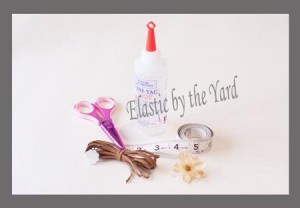
What you will need:
- 1/8″ colored skinny elastic (chocolate brown shown)
- Fabri Tac glue or hot glue
- needle and thread (optional)
- tape measure
- scissors
- felt
- silk flower
Step One
Cut your elastic to desired length. Be sure to leave a little extra on the end (approx.1/4″) so you can overlap the elastic when it is glued or sewed. The recommended lengths are as follows (including the extra at the end!).
- Newborn – 13 3/4″
- 3-6 Months – 15″
- 6-12 Months – 16 1/4″
- 12m – Tween – 17 1/4″
- Adult – 18 1/4″
You can also measure by wrapping the elastic around your little girl’s head to get a true custom fit.
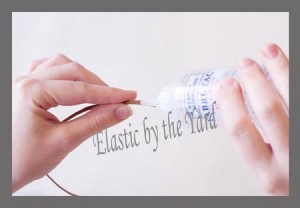
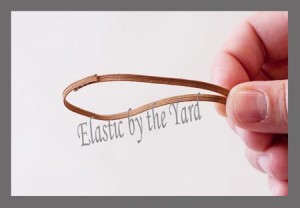
Step Two
Attach the ends of your elastic by overlapping them about 1/4″. You have two options here – sewing or gluing. If you choose to sew it, double up on your thread and make about 5-8 stitches, making sure the elastic is secure when you apply pressure. Any color thread is acceptable since this part of the elastic will be covered by an embellishment. Your second option is to glue it. I use Frabri Tac glue because it dries quick, clear, and with no fumes. It is also very strong! However, a small bottle costs about $9.00US so this is a pretty expensive way to go if you are only planning to make a few headbands.
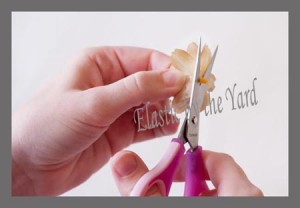
Step Three
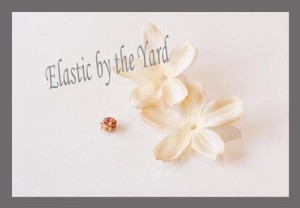
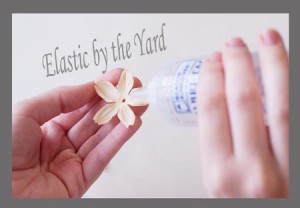
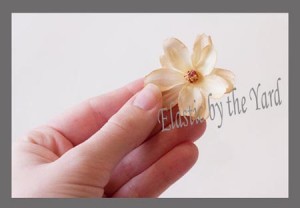
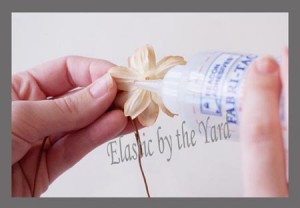
Prep your embellishment. The most commonly used embellishment is a silk flower, but use your imagination and creativity for a completely new look! Silk flowers can be purchased at most craft stores, and your possibilities are endless! Most flowers have a center where it is attached to the stem. Pull gently and the flower should pop right off. The flower I’m using in this example had a beautiful multi-colored center that had to be cut out in order to truly remove any stem left on the back of the flower. Once the pieces are separated, glue the petals and center back in place using either Fabri Tac or hot glue. Give the glue a few minutes to take hold before continuing.
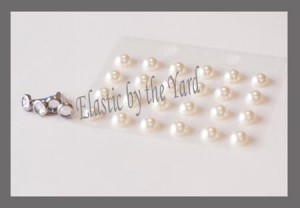
Tip: To add a little extra to your headband, you can also choose to make the center of your flower a pearl or rhinestone! Check the scrap-booking section of your local craft store to find them with flat backs so you can easily glue them on. Also try the brads with a rhinestone center to hold your flowers together.
Step Four:
Choose a color of felt that will compliment the color of your flower and elastic. Cut it into a neat circle that will fit on the back of your flower. You can also cut it into a nice flower pattern as I have done, using a die-cutter machine, to give it a really professional look. (Felt flowers are also sold at Elastic by the Yard).

Step Five:
Using the glue of your choice, sandwich the elastic between your flower and the felt piece and allow to dry for at least an hour.
